Ever copped a freezing shower first thing on a nippy morning? It’s about as fun as a flat beer, isn’t it? That’s why we’ve rolled up our sleeves and rummaged around for no-nonsense solutions to sort out your hot water heater hassles.
Our blog is chockers with troubleshooting guides, ripper DIY fixes, and maintenance know-how that’ll get your system purring like a kitten again quickly smart. So dive in, mate – those cosy showers are just around the corner!
Key Takeaways
- Troubleshooting thermostat issues and testing/replacing faulty heating elements are essential DIY steps to address hot water temperature fluctuations.
- Regularly draining the hot water heater helps remove sediment buildup, maintain efficiency, and prolong its lifespan.
- Essential tools like multimeters, pliers, Teflon tape, and safety gear are necessary for testing and repairing a hot water heater. Regular maintenance tasks include flushing the tank to prevent sediment buildup and testing the temperature-pressure relief valve.
Common Hot Water Heater Issues
The temperature of the hot water may be too high or too low. The pilot light might also go out, causing the hot water to stop working. It’s also important to know how to drain your hot water heater properly.
Temperature too hot or too low
If your water heater’s temperature is playing up, it could be a simple issue with the thermostat. Electric hot water heaters have thermostats that can malfunction, causing the water to become too hot or not hot enough.
We’ll guide you through checking and adjusting your thermostat settings to get the perfect temperature without needing a professional.
Sometimes, it’s a tripped circuit breaker or faulty heating elements that are behind these temperature fluctuations. These components are easy to find at local hardware stores and won’t break the bank.
Follow our detailed steps for testing and replacing elements if necessary. It’s part of ensuring your system runs smoothly and saves you from unexpected cold showers! Next up: what to do if your pilot light goes out.
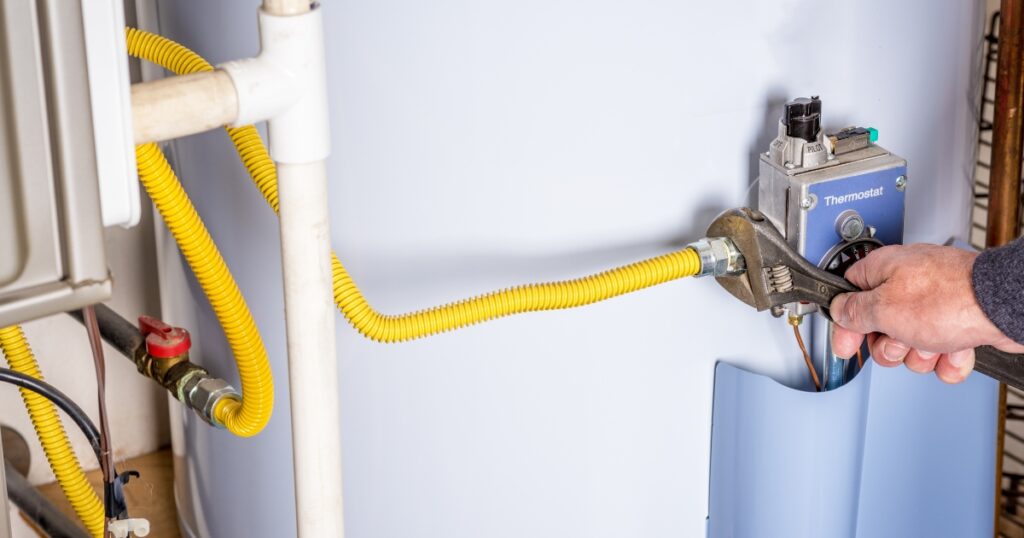
The pilot light goes out
When troubleshooting your hot water heater, the pilot light going out is a common issue that can disrupt your access to hot water. This problem often occurs due to issues with the thermocouple or a buildup of dirt and debris within the pilot assembly.
To rectify this, homeowners can easily relight the pilot light by following simple step-by-step guides available for gas water heaters. It’s important to ensure that all safety precautions are followed when attempting to relight the pilot light.
Consulting a professional may be necessary if repeated attempts at relighting the pilot light are unsuccessful.
In addition, it’s crucial for homeowners to understand that a malfunctioning pilot light could indicate more serious problems with their gas hot water system. These issues should be addressed promptly as they could present safety hazards and potential risks of carbon monoxide leaks.
Draining the hot water heater
To drain the hot water heater, follow these steps for proper maintenance and to prevent issues:
- Turn off the power supply to the heater.
- Locate the drain valve at the bottom of the tank and attach a garden hose.
- Place the other end of the hose in a suitable drainage area, such as a floor drain or outside.
- Open the pressure relief valve on top of the heater to allow air into the tank, which will help with draining.
- Open the drain valve and let the water flow out completely.
- Close both valves once draining is complete.
- Turn on a hot water tap in your home to allow air into the tank and help it to refill properly.
- Finally, switch on the power supply to resume normal operation after the water refills in the tank.
DIY Fixes for Hot Water Heater Repair
We’ll provide a step-by-step guide to testing and repairing, along with the necessary tools and materials needed. We’ll also cover other causes of water not getting hot and share a video tutorial on testing a water heater element.

Step-by-step guide to testing and repairing
To test and repair your hot water heater, follow these steps:
- Turn off the power supply to the water heater at the breaker box.
- Locate the thermostat panel on the side of your water heater and remove it using a screwdriver.
- Use a multimeter to test the continuity of the heating elements. If there is no continuity, replace the heating element.
- Test the thermostat for continuity using a multimeter. If there is no continuity, replace the thermostat.
- Check for any loose wiring or corrosion inside the thermostat panel and tighten any loose connections.
- Use a voltage detector to ensure that there is no power flowing to the heating elements before touching any wires or connections.
- Once repairs are complete, turn on the power supply and monitor your hot water heater for proper function.
Tools and materials required
Now that we’ve covered the step-by-step guide to testing and repairing your hot water heater, let’s talk about the essential tools and materials you’ll need for DIY fixes. Here’s what you’ll need:
- A pair of adjustable pliers for tightening and loosening fittings, as well as a pipe wrench for securing gas lines.
- A multimeter to test electrical components and ensure they are functioning properly.
- Pipe cutters or hacksaws for cutting pipes when necessary.
- Teflon tape for wrapping around pipe threads to create a tight seal and prevent leaks.
- Screwdrivers of various sizes for removing panels and accessing internal components.
- A hose and bucket for draining the water heater during maintenance tasks.
- Replacement heating elements, thermostats, or other parts if troubleshooting reveals the need for replacements.
- Safety gear including gloves and safety goggles to protect yourself from hot water, steam, or accidental spills during repairs.
Other causes of water not getting hot
If your hot water isn’t getting hot, there could be other reasons beyond the thermostat or heating element. Faulty wiring, a malfunctioning high-temperature cutoff switch, or sediment buildup in the tank can also lead to inadequate heating.
It’s important to have these issues investigated and addressed promptly to ensure efficient operation and prevent further damage.
Regular maintenance is crucial in preventing these problems. Flushing the tank regularly and checking for any electrical faults can help maintain optimal performance. By addressing these causes early on, you can avoid potentially costly repairs down the line.
Video tutorial on testing water heater element
In our comprehensive resource for homeowners and DIYers, we have included a helpful video tutorial on testing the water heater element. This step-by-step guide explains how to safely test and repair the heating elements in an electric hot water heater.
With clear instructions and visual demonstrations, this video provides valuable insights into troubleshooting issues related to hot water not getting hot due to faulty heating elements.
Homeowners can easily follow along with the video tutorial using common plumbing tools and techniques, helping them save time and money by avoiding unnecessary repairs or replacements.
Understanding how the water heater element works is crucial for maintaining a reliable hot water system in your home. By following this video tutorial, you’ll gain practical knowledge about diagnosing and fixing problems with your electric water heater’s heating elements.
Secret of the red button
Transitioning from learning about testing water heater elements, it’s crucial to understand the significance of the red reset button on your hot water system. The red button, also known as the high-temperature cutoff switch, serves as a safety feature on electric water heaters.
If the water temperature exceeds a safe level, this button will trip and shut off power to the heating elements. To resolve this issue, locate the red reset button near the thermostat and firmly press it in to reset the system.
Importance of Regular Maintenance for Water Heaters
Regular maintenance for water heaters is crucial for ensuring a long lifespan and efficient performance. Flushing the heater, testing temperature-pressure relief valves, adjusting water temperatures, checking anode rods, and insulating the heater are all essential tasks to keep your hot water system running smoothly.
Benefits of flushing the heater
Regular maintenance of your water heater includes the essential task of flushing out sediment buildup. This process ensures that your heater operates efficiently and prolongs its lifespan.
Flushing the heater helps to prevent potential damage from sediment, such as reduced heating efficiency and corrosion in the tank. By carrying out this simple maintenance, you can preserve the functionality of your hot water system and save on costly repairs or replacements.
Flushing the heater also results in improved water quality by removing built-up minerals and sediments that can affect taste and clarity. Consistent flushing reduces the risk of clogs, which can lead to inadequate hot water supply or even damage to your plumbing system over time.
Therefore, taking a proactive approach to flushing your water heater is beneficial not only for preserving its function but also for ensuring high-quality hot water throughout your home.
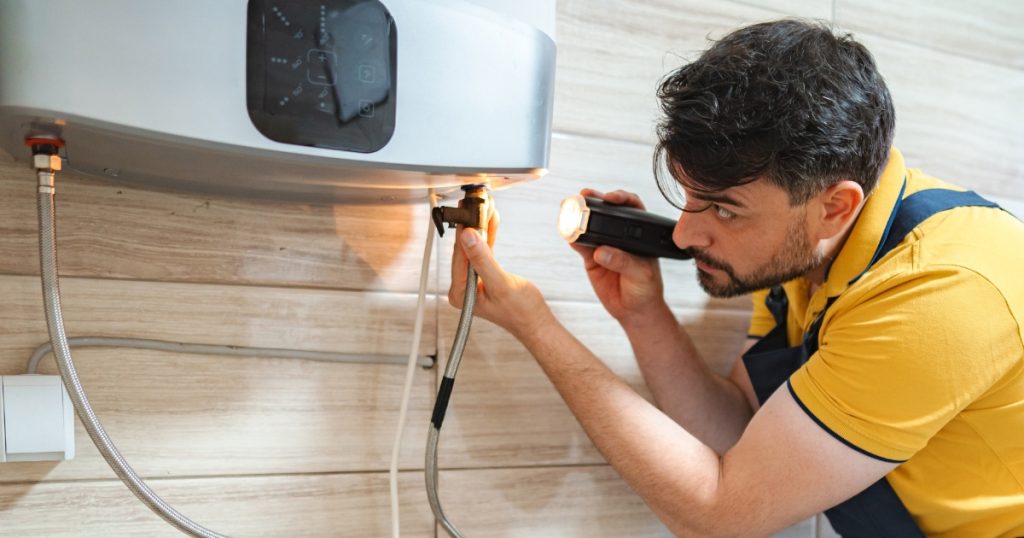
Testing temperature-pressure relief valve
After understanding the benefits of flushing the heater, it’s essential to test the temperature-pressure relief valve regularly to ensure that your hot water heater is functioning safely and efficiently. Here’s how you can do it:
- Locate the pressure relief valve near the top of the tank and gently lift the lever at the top of the valve.
- Listen for a gurgling noise, which indicates that water is being released into the drain tube.
- If no water comes out or there are leaks around the valve, it may be faulty and should be replaced immediately.
- Check if the valve closes properly after releasing it – this will prevent any excess water from leaking out.
- Test this at least once a year to ensure that your hot water heater is operating safely and effectively.
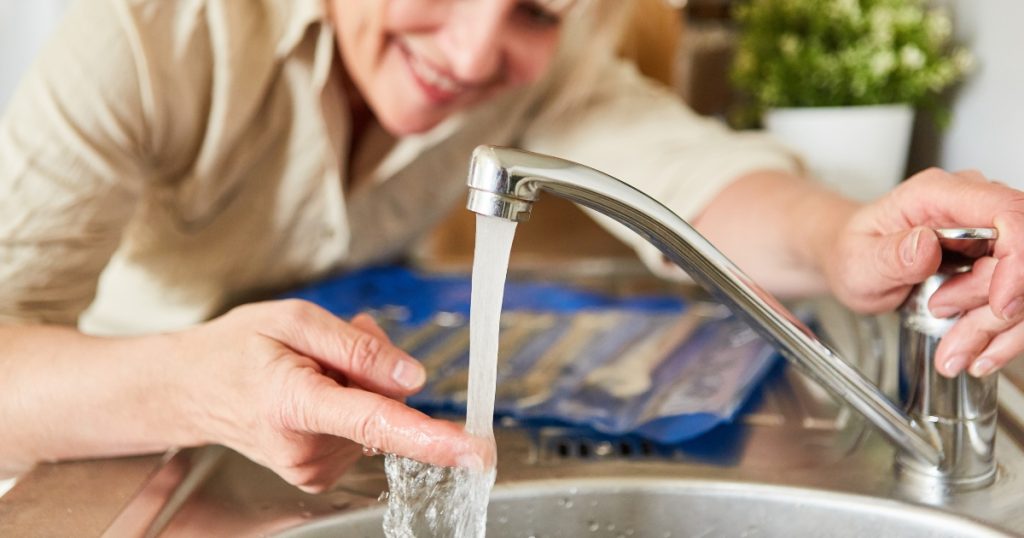
Adjusting water temperature
To adjust the water temperature, first, locate the thermostat control panel on your water heater. Then, use a flathead screwdriver to adjust the temperature setting according to your preference. After that, wait for a few hours and check the water temperature again. If necessary, make further adjustments until you reach the desired temperature. Regularly checking and adjusting the water temperature ensures optimal performance and energy efficiency of your hot water heater.
Checking anode rod
To maintain your hot water heater, it’s important to regularly check the anode rod, which helps prevent corrosion inside the tank. This is crucial for ensuring the longevity of your water heater and avoiding potential issues.
- Use a socket wrench to loosen the hex head screw located on top of the water heater.
- Once removed, pull out the anode rod carefully. Inspect it for signs of corrosion or wear.
- If the anode rod is less than half an inch thick or shows signs of heavy erosion, it needs replacement.
- To replace the anode rod, ensure you have a new one with the same width and length before installing it back into the water heater.
- Tighten the hex head screw securely and ensure there are no leaks from the area.
Insulating the heater
To insulate the heater, we recommend the following steps:
- Obtain an insulation blanket suitable for water heaters, which can help reduce heat loss and save energy.
- Measure the height and circumference of the water heater to ensure you purchase the correct size blanket.
- Cut holes in the insulation blanket to fit around the pressure relief valve, thermostats, and other controls on the tank.
- Wrap and secure the insulation blanket around the water heater, ensuring it’s snug but not compressed against the tank.
- Use tape or straps provided with the insulation blanket to secure it in place, preventing it from sagging or slipping.
- Check that no insulation material is covering venting pipes or drafts, as this could lead to safety hazards when using gas-fired water heaters.
- Ensure that any seams or gaps in the insulation are sealed to prevent heat loss and maximise energy efficiency.

Signs that Your Water Heater Needs Repair or Replacement
Is your hot water not as hot as it used to be? Are you noticing strange noises coming from the heater? These could be signs that your water heater needs repair or replacement. Don’t ignore these warning signs!
FAQs on water heater maintenance
Wondering how often you should flush your water heater or the consequences of neglecting maintenance? Here’s a quick guide to FAQs on water heater maintenance:
- Flushing frequency: Regularly flushing your water heater is crucial to prevent sediment buildup, but how often should you do it? The general recommendation is once a year, but if you have hard water, consider doing it twice a year.
- Consequences of neglect: Not flushing your water heater can lead to reduced efficiency and increased energy bills. Sediment buildup can also cause corrosion, decrease the lifespan of the heater, and result in inconsistent hot water supply.
- Steps to flush: Start by turning off the power and cold-water supply, attach a hose to the drain valve at the bottom of the tank, open a hot water tap in the house, and let everything drain out. Finally, refill the tank and turn on the power.
- Testing pressure relief valve: To ensure it’s working correctly, pull up on its handle and let it snap back. This should release some water into the overflow drainpipe before shutting off.
- Anode rod check: Inspecting this component can help prevent corrosion inside your tank due to its sacrificial nature that attracts corrosive elements away from other metal surfaces within the tank.
- Benefits of insulation: By insulating your water heater with a specially designed blanket or jacket, you can reduce standby heat losses by 25%–45% and save around 7%–16% in annual energy costs.
How often should you flush a water heater?
Regular maintenance is crucial to keep your water heater working efficiently. Flushing the water heater at least once a year can help prevent sediment buildup, which can cause problems with the heating elements and reduce its lifespan.
By flushing out the sediment, you can maintain optimal performance and ensure that your hot water stays consistent. It’s an easy DIY task that doesn’t take long but can make a significant difference in how well your water heater operates over time.
When it comes to maintaining your home’s plumbing systems, being proactive is key. Now let’s explore other important aspects of keeping your hot water heater in top condition – signs that Your Water Heater Needs Repair or Replacement.
Consequences of not flushing
Neglecting to flush your hot water heater can lead to a buildup of sediment at the bottom of the tank, reducing its efficiency and potentially causing damage. Over time, this sediment accumulation can cause the tank to corrode, leading to leaks and ultimately requiring expensive repairs or premature replacement.
Additionally, failing to flush your water heater regularly can result in decreased heating performance and increased energy consumption, leading to higher utility bills.
To avoid these consequences and keep your hot water heater running efficiently, it’s important to incorporate regular flushing into your maintenance routine. This helps prevent sediment buildup and ensures that your system continues operating smoothly for years to come.
Steps to flush out sediment
Neglecting regular maintenance can lead to a buildup of sediment in your water heater, causing reduced efficiency and potential damage. To prevent these issues, here are the steps to flush out sediment from your hot water heater:
- Turn off the electricity or gas supply to the water heater.
- Connect a garden hose to the drain valve at the bottom of the tank.
- Place the other end of the hose in a suitable drainage area, such as a floor drain or outside.
- Open the pressure relief valve on top of the tank to allow air into it.
- Open the drain valve and let the water flow out for several minutes until it runs clear.
- Close the pressure relief valve and then shut off the drain valve.
- Disconnect the hose and turn on the cold water supply to refill the tank.
- Once it’s full, turn on the electricity or relight the pilot light if you have a gas heater.
Discover More about Hot Water Heater
In conclusion, maintaining and repairing a hot water heater is essential for homeowners and DIYers. Regular maintenance helps prevent common issues such as insufficient hot water or pilot light problems.
By following the DIY fixes provided in this comprehensive resource, homeowners can save money and ensure their hot water system operates efficiently. Remember to check your water heater regularly to avoid potentially costly repairs or replacements.
Keep these tips in mind to maintain a reliable supply of hot water in your home!