Ever copped a cold splash from what should’ve been a toasty warm shower, despite your hot water tank being chockers? Yeah, it’s enough to make you spit the dummy. Roughly 18% of our household energy is chewed up in heating water, so when things aren’t running slick as a whistle, it stings both your skin and your wallet.
Our yarn here is about giving you the know-how to drain and flush out your water heater—ripper of a way to keep it cranking efficiently for yonks. Stick around if you’re keen on keeping that precious hot water streaming without any hiccups!
Key Takeaways
- Regularly draining and flushing your hot water heater is crucial to prevent sediment build-up, increase efficiency, and extend the appliance’s lifespan.
- Turn off gas and electricity before starting maintenance on the hot water heater to ensure safety throughout the process.
- After flushing out sediment from the tank, close the drain valve securely, remove the hose, turn on the cold water supply slowly to refill the tank completely, and release any air pockets by turning on hot water taps in your home.
- Regularly checking and replacing the anode rod plays a critical role in preventing corrosion inside the tank and can help extend the lifespan of your hot water system.
Why Is Draining and Flushing Your Hot Water Heater Important?
Draining and flushing your hot water heater is important because it prevents sediment build-up, increases efficiency, and extends the life of your water heater.

Prevents sediment build-up
By regularly flushing our hot water heater, we’re stopping sediment from building up at the bottom of the tank. Sediment is just hardened minerals like calcium and magnesium that naturally settle out of our water.
Over time, this gritty layer can grow thick enough to insulate the heat source from the water in the tank, which means it has to work harder to warm things up. That’s not only inefficient but could also shorten our system’s life.
We take care to flush away these deposits because a clean heater runs better and uses less energy. Picture opening a tap full blast – that’s what we do inside our tanks when we drain them during maintenance.
This powerful rush clears out all the loose particles so they can’t form a sediment barrier over time. It keeps everything flowing smoothly and ensures that every drop of hot water comes through clear and free for us to use without worry or waste.
Increases efficiency
Regularly flushing out your hot water heater is a crucial task to maintain its efficiency. Removing sediment buildup and mineral deposits helps the system run more smoothly, ensuring that it can heat water effectively.
This simple maintenance step can also contribute to lowering energy costs over time, making sure your hot water system operates at its best capacity.
By maintaining an efficient hot water heater, you ensure that the appliance continues to function effectively for years to come. Now let’s delve into the steps for draining and flushing your hot water heater.
Extends the life of your water heater
Flushing your hot water heater regularly prevents sediment buildup, helping to maintain its efficiency and extend its lifespan. By following the simple steps outlined for draining and flushing your system, you can ensure that it continues to function effectively and avoid potential issues down the track.
Taking the time to flush your water heater is a straightforward DIY task that can make a significant difference in maintaining an essential appliance in your home.
When done correctly, regular maintenance of your hot water heater by flushing the tank can help prevent problems from arising and ultimately prolong the life of your water heating system.
Steps to Drain and Flush Your Hot Water Heater
- Turn off the gas and electricity to the hot water heater.
- Attach a hose to the drain valve at the bottom of the tank.
- Open the drain valve and let the water flush out, along with any sediment that has built up.
- Check and clean the anode rod if necessary.
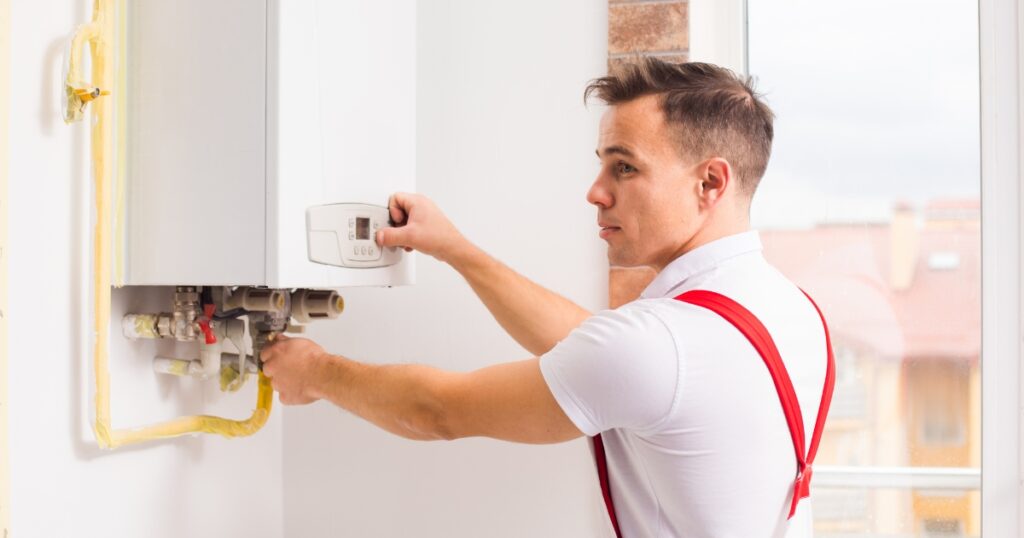
Turn off gas and electricity
To start the process of draining and flushing your hot water heater, we need to turn off the gas and electricity supply to the unit. This is an essential safety step before performing any maintenance.
- Switch off the gas or electricity supply to the hot water heater.
- Locate the shut-off valve for the gas line or switch off the circuit breaker for an electric water heater.
- Double-check that the power is completely turned off before proceeding with any further steps.
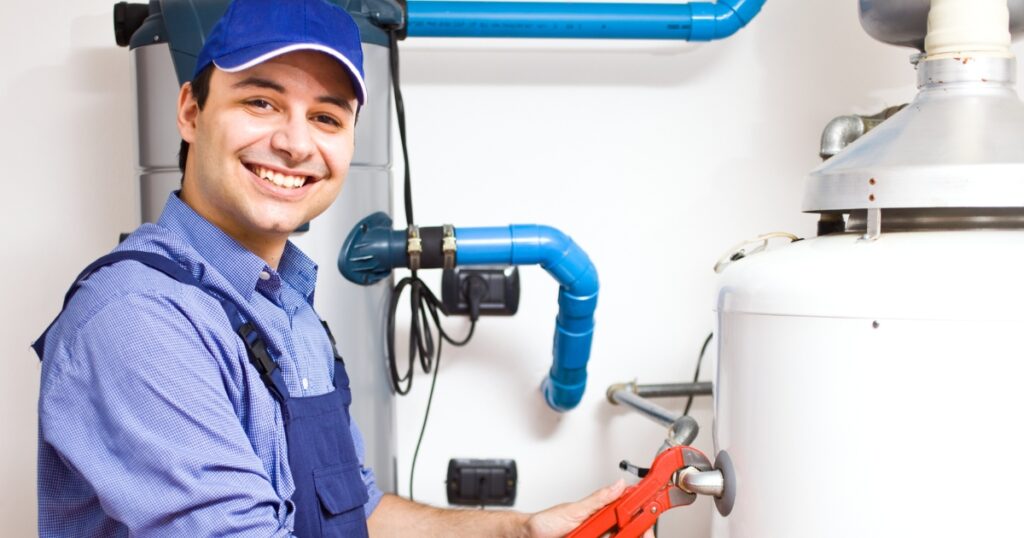
Attach a hose to the drain valve
After turning off the gas and electricity, the next step is to attach a hose to the drain valve. This process will help in safely directing the water and sediments out of the hot water tank. Here are the steps to follow:
- Locate the drain valve at the bottom of your water heater and screw one end of a garden hose onto it.
- Position the other end of the hose near a floor drain, outside, or in a bucket to direct the water safely away from your home.
- Ensure that the hose is securely attached and that there are no kinks or blockages that could impede water flow during flushing.
Open the drain valve and flush out sediment
After attaching a hose to the drain valve, the next step is to open the drain valve and flush out sediment. This process helps to remove any built-up sediment or debris that has settled at the bottom of the tank. Here’s how to do it:
- Slowly open the drain valve to allow the water and sediment to flow out through the attached hose.
- Be cautious as the water may be hot and release with force, so make sure to stand clear and wear protective gear if necessary.
- Allow the water to continue flowing until it runs clear and free of any sediment or debris.
- Once you’ve flushed out all the sediment, close the drain valve tightly.
Check and clean the anode rod
To maintain the efficiency of your hot water heater, it’s important to regularly check and clean the anode rod. Here’s how you can do it:
- Turn off the gas or electricity supply to the water heater.
- Locate the anode rod’s access point on top of the water heater.
- Use a socket wrench to unscrew and remove the anode rod from the tank.
- Inspect the condition of the anode rod for corrosion and sediment build-up.
- If there is significant corrosion, consider replacing the anode rod with a new one.
- If there is only minimal corrosion, use a wire brush to clean the rod thoroughly.
- Once cleaned, reinsert and tighten the anode rod back into place.
Refilling Your Hot Water Heater
- Close the drain valve and remove the hose.
- Turn on the cold water supply to start refilling the tank.
- Wait for the tank to fill up completely before moving on to the next step.
- Turn on hot water taps in your home to release any air pockets that may have formed during refilling.
Close the drain valve and remove the hose
Now, it’s time to wrap up the maintenance. Once the tank is completely drained and flushed, it’s important to close the drain valve securely and remove the hose. After that, don’t forget to turn on the cold water supply and allow the tank to fill up again. As always, be sure to turn on your hot water taps to release any remaining air pockets. Regularly repeating this process will help maintain your water heater in good working order.
- Close the drain valve securely by turning it clockwise until it’s firmly closed.
- Remove the hose from the drain valve and ensure there are no leaks around the area.
- Turn on the cold water supply slowly to prevent a sudden surge of pressure into the tank.
- Let the tank fill up completely before using hot water again.
- Open all hot water taps in your home for a few minutes to release any trapped air in the system.
Turn on the cold water supply
To refill the tank, turn on the cold water supply at the water heater. This step is crucial to replenish the water in the tank and ensure it is ready for use. Here’s how you do it:
- After closing the drain valve and removing the hose, locate the cold water shut-off valve connected to your water heater.
- Slowly turn the valve in a counterclockwise direction to open it and allow cold water to flow into the tank.
- Keep an eye on the pressure relief valve while refilling. This will help release any excess pressure that may build up as the tank refills.
- Wait for the tank to fill up completely before proceeding to turn on any hot water taps inside your home.
- Once filled, turn on a few hot water taps inside your home to release any air pockets from the pipes and allow for uninterrupted hot water flow.
Wait for the tank to fill up
After closing the drain valve and removing the hose, turn on the cold water supply. The tank will start to fill up with fresh water from the mains. Keep an eye on the tank as it fills, ensuring that everything is operating smoothly. Once the tank is full, turn on the hot water taps in your home to release any remaining air pockets. This step ensures that your hot water heater is refilled completely and is ready for use.
Turn on hot water taps to release air pockets
After refilling the tank, it’s essential to turn on the hot water taps to release any air pockets that may have formed during the flushing process. This step ensures that your hot water heater runs smoothly and efficiently. Here are the detailed steps you need to follow:
- Slowly turn on each hot water tap in your home, starting from the closest tap to the water heater and moving towards the farthest.
- Allow the hot water to run for a few minutes until you no longer hear any sputtering or see air bubbles coming out of the faucets.
- Once all air pockets have been released, you can turn off the hot water taps.

Additional Tips for Maintaining Your Hot Water Heater
Regularly check and replace the anode rod. Consider installing a water softener to reduce mineral buildup in your tank. Keep the area around the water heater clean to prevent debris from entering the system.
Regularly check and replace the anode rod
To keep our hot water heater in top condition, it’s crucial for us to regularly check and replace the anode rod. This small but vital component plays a key role in preventing corrosion inside the tank, ultimately helping to extend the lifespan of our water heater.
By ensuring that the anode rod is in good shape, we can effectively protect our investment and avoid costly repairs down the line. Taking this simple step as part of our regular maintenance routine will go a long way in keeping our hot water system running efficiently.
Inspecting and swapping out the anode rod is an essential aspect of maintaining a healthy hot water system. Doing so on a regular basis aligns with best practices for safeguarding against sediment buildup and enhancing the overall performance and longevity of our water heaters.
Consider installing a water softener
If you have hard water in your area, installing a water softener can be a smart addition to your hot water system maintenance routine. Hard water contains high levels of minerals like calcium and magnesium, which can lead to mineral buildup in your hot water heater over time.
By installing a water softener, you can reduce the amount of mineral deposits that accumulate in the tank, helping to maintain its efficiency and prolong its lifespan.
Installing a water softener is an effective way to combat the negative impacts of hard water on your hot water heater. Additionally, by reducing mineral buildup in the tank, you can ensure that your hot water system continues to operate effectively and efficiently.
Keep the area around the water heater clean
Regularly clearing the area around your water heater is vital for ensuring its proper functioning. A clutter-free space allows for easy access to the unit, making maintenance tasks such as draining and flushing more convenient.
Additionally, keeping the surrounding area clean minimises dust accumulation, which can affect the efficiency of the heater over time. By maintaining a tidy space around your water heater, you are contributing to its longevity and optimal performance.
Maintaining a clean environment around your water heater is essential to prevent potential hazards and ensure that routine maintenance tasks can be performed effectively. Dust and debris can pose fire risks if they come into contact with a hot water system, so it’s crucial to keep the area clear at all times.
Know the Guides for Your Tank
In conclusion, knowing how to perform regular maintenance on your hot water heater is crucial for keeping it running efficiently. Flushing and draining the tank can prevent sediment buildup and extend the lifespan of your water heater.
Following the step-by-step guide will help homeowners complete this DIY-friendly task effectively. By taking care of your hot water heater, you can ensure a consistent supply of warm water in your home.
Keep these maintenance tips in mind to avoid unexpected issues with your hot water system.