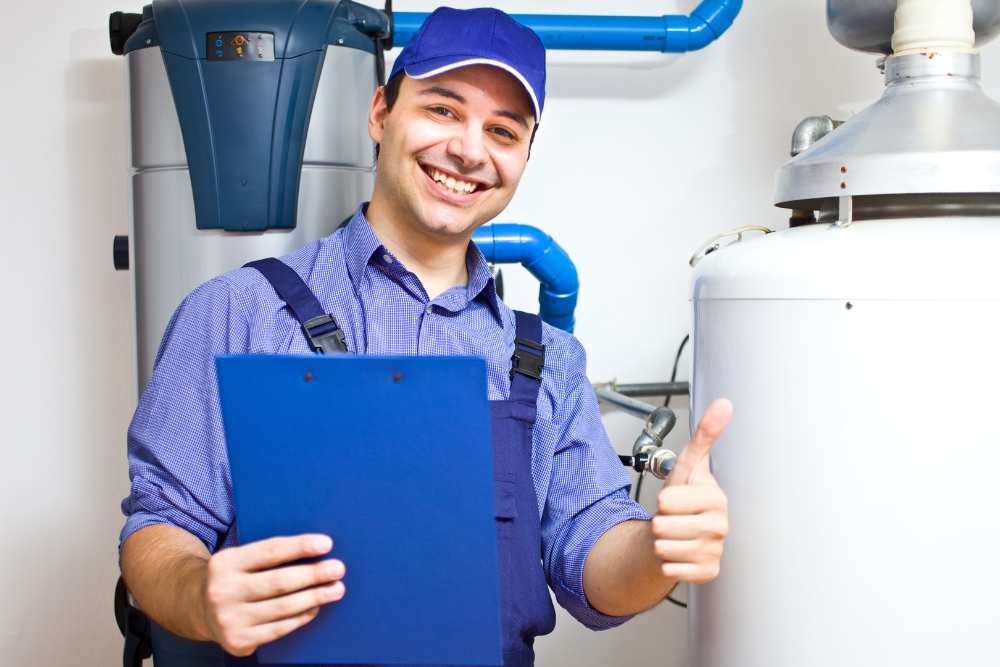
Copping a frosty blast when you’re geared up for a steamy shower is enough to throw anyone off kilter. Trust us, we’ve been in those shivery shoes and it’s no picnic. So, we rolled up our sleeves and got down to business.
We’ve put together a cracker of a guide brimming with nifty tricks to get your hot water humming again — checking out elements, solving the enigma of the red button, you name it.
Dive into our tips and before you know it, you’ll be basking in that warm shower like it’s nobody’s business!
Key Takeaways
- To diagnose hot water system issues, a multimeter, screwdrivers, adjustable wrench, plumber’s tape, replacement parts (like heating elements), bucket for spills, and safety gear such as gloves and goggles are necessary.
- Common causes of no hot water include malfunctioning thermostats, sediment buildup in the tank or faulty dip tubes disrupting distribution; testing elements for continuity helps pinpoint problems.
- For electric water heaters with a burned-out element: shut off power at the breaker box before using a multimeter to test for continuity; replace any elements without continuity after ensuring no current with voltage detector.
- If the red button on your heater is frequently popping out or if breakers trip often due to electrical faults in your system, professional help may be needed despite DIY attempts at fixing it yourself.
- Before calling in a pro plumber when troubleshooting fails—check your warranty—it might save unnecessary expenses if parts or repairs are covered.
DIY Water Heater Testing and Repair
When it comes to troubleshooting hot water issues, we’ll tell you what materials and tools you need and discuss other potential causes for not getting hot water. We will also guide you on how to test for a burned-out heating element and check for a short circuit.

Materials and tools needed
Let’s get ready to tackle some hot water system issues ourselves. We’ll need a few materials and tools to start our DIY water heater repair journey.
- A multimeter: This device is essential for testing electrical components in your electric hot water system. It measures voltage, resistance, and current, helping us pinpoint any electrical problems.
- Screwdrivers: A range of sizes will come in handy for removing panels or adjusting components on the water heater.
- An adjustable spanner: This tool is critical for loosening and tightening nuts, especially when dealing with the heating element.
- Plumber’s tape: This helps ensure a watertight seal on threads when fixing up connections to prevent leaks.
- Replacement parts: Keep spare parts like heating elements or thermostats ready, just in case these are the culprits behind your hot water not working.
- A bucket: It catches any water that may spill out when you’re working on the system, keeping your floors dry and safe.
- Safety gear: Gloves and goggles are vital to protect you from potential electrical hazards or sharp edges during maintenance tasks.
- Owner’s manual: Keep this within reach for reference; it has specific instructions and safety information for your particular model.
Other causes of water not getting hot
Now let’s delve into other causes of water not getting hot. One common culprit can be a malfunctioning thermostat, which may prevent your water heater from reaching the desired temperature.
Sediment buildup in the tank is another potential issue leading to insufficient heating efficiency. A faulty dip tube inside the tank could also disrupt hot water distribution.
It’s also important to check for a broken or damaged heating element, which can hinder proper water heating.
How to test for a burned-out element
To test for a burned-out element in your electric water heater, follow these steps:
- Shut off the power to the water heater at the breaker box to avoid any electrical accidents.
- Use a multimeter to check for continuity across the terminals of the heating element. If there is no continuity, it indicates that the element is burned out and needs to be replaced.
- Before replacing the element, ensure that there is no power going to the unit by testing with a voltage detector.
- When removing the heating element, make sure to drain the tank to prevent scalding and use proper tools for loosening and removing it from the water heater.
- Install a new heating element using Teflon tape on the threads and ensure it is snugly fitted in place.
- Refill the tank with water before restoring power to your hot water system.
How to check for a short circuit
To check for a short circuit:
- Turn off the power supply to the water heater at the electrical panel.
- Use a multimeter to test for continuity between the heating element terminals and the heater’s metal housing.
- If there is continuity, it indicates a short circuit and the heating element needs to be replaced.
- Ensure that all connections are secure and free from any corrosion or damage.
- If in doubt, consult a professional plumber or electrician for further assistance.
- Keep safety in mind by following proper electrical safety precautions when dealing with hot water system troubleshooting.
Understanding Your Water Heater
Let’s dive into the inside components of your water heater and how they work to provide hot water. Curious about the secret of the red button? Keep reading to find out more!
Inside components and how they work
The components inside your hot water system work together to provide you with a steady supply of hot water. The heating element, whether gas or electric, is responsible for heating the water in the tank.
Additionally, the thermostat helps regulate the temperature of the water to ensure it remains at your desired level. These components work in harmony to deliver consistent hot water to your taps and shower.
Understanding these inner workings can help you troubleshoot issues that may arise with your hot water service. By familiarising yourself with how each component operates, you’ll be better equipped to identify problems and take appropriate action.
The Secret of the Red button
The red button on your water heater is a crucial safety feature that should never be ignored. It acts as an emergency cut-off switch, shutting off the power to the heating elements if the water temperature becomes too high.
This can occur if the thermostat malfunctions or if there are other issues with the heater’s internal components. If you find yourself having to reset this button frequently, it may be a sign of a more significant problem that requires professional attention.
Understanding how this red button works and knowing when to seek help for recurring issues can prevent dangerous situations and costly repairs down the line. By familiarising yourself with this aspect of your water heater, you’ll be better equipped to handle potential problems before they escalate.
Replacing a Faulty Heating Element
When needing to replace a faulty heating element, it’s important to know how to remove the old one and install the new one properly. Read on to find out more about tips for buying the right heating element and step-by-step instructions on replacing it.
Removing the old element
When replacing a faulty heating element in your hot water system, follow these steps:
- Switch off the power supply at the circuit breaker to ensure safety.
- Drain the water heater by turning off the cold water supply and attaching a hose to the drain valve. Open the valve and allow the tank to completely drain.
- Disconnect the wires connected to the old heating element using a screwdriver.
- Use a heating element wrench to loosen and remove the old element from its location in the tank.
- Inspect the gasket on the new heating element for damage or wear and replace if necessary.
- Insert the new heating element into place in the tank and tighten using a heating element wrench.
- Reconnect the wires to the new heating element, ensuring they are secure.
Installing the new element
After removing the old heating element, it’s time to install the new one. The process is straightforward, but make sure to follow these steps carefully:
- Prepare the new heating element by ensuring it matches the specifications of your water heater.
- Carefully insert the new heating element into the designated slot in the water heater tank.
- Use a wrench to securely tighten the element, ensuring it is snugly fitted but not over-tightened to avoid damage.
- Reconnect any electrical wiring that was disconnected during the removal process.
- Double-check all connections and ensure there are no loose wires or fittings.
- Turn on the power and test the water heater to ensure that the new heating element is functioning properly.
Tips for buying the right heating element
When installing a new heating element, it’s crucial to choose the right one for your hot water system. Firstly, consider the wattage and voltage requirements of your water heater. This information can usually be found in the owner’s manual or on the existing element itself.
Additionally, ensure that you select a heating element that is compatible with your specific hot water system model to avoid any compatibility issues.
Another important tip is to check for the quality of the heating element. Look for elements made of durable materials such as copper, stainless steel, or zinc-plated copper sheath.
These materials are known for their longevity and corrosion resistance, ensuring that your new heating element will have a longer lifespan and provide reliable performance.

Common Hot Water Problems and Solutions
Water leak, no hot water, slow hot water recovery, relief valve releasing water sporadically, and water heater leaking are some common issues. We’ll discuss how to troubleshoot these problems and provide solutions to fix them.
Water leak
A water leak from your hot water system can lead to damage and higher energy bills. Look for visible signs of leaks around the tank or piping. Use a flashlight to check for any moisture, rust, or corrosion, especially at joints and connections.
Addressing a small leak promptly can prevent bigger issues down the line.
If you notice pooling water or dampness near your hot water system, it’s essential to identify the source of the leak as soon as possible. Check the temperature and pressure relief valve first as it could be releasing excess pressure and causing the leak.
No hot water
If you’re facing the frustrating problem of no hot water, there are a few potential causes to consider. Before panicking, check if your water heater is receiving power and that the thermostat settings are correct.
It could be due to a blown fuse or tripped circuit breaker; this can be easily fixed by resetting it. Another possibility is a failed heating element in an electric water heater. This component can be replaced following simple steps outlined in our guide for DIY repair and maintenance.
In some cases, the issue might stem from sediment buildup in your tank or a faulty pilot light on a gas-powered unit. Regular maintenance such as flushing the tank regularly and cleaning the burner assembly can help prevent these issues from occurring.
Slow hot water recovery
If your hot water system takes longer than usual to recover and produce hot water, there may be a few potential causes. Sediment buildup in the tank can insulate the water from the heating element, slowing down the recovery time.
Another possible cause could be a faulty or aging heating element that is not efficiently heating the water. It’s important to perform regular maintenance on your hot water system to prevent these issues and ensure a faster hot water recovery when you need it.
Regularly flushing out sediment from the tank and checking the condition of the heating elements can help maintain efficient operation. Additionally, being aware of signs indicating that it’s time to replace an old or failing heating element can prevent slow hot water recovery in advance.
Relief valve releasing water sporadically
If you notice the relief valve on your water heater releasing water sporadically, it could indicate excessive pressure or temperature within the system. This can be caused by a faulty temperature and pressure relief valve, a malfunctioning thermostat, or an overheating water heater.
Check for leaks from the relief valve, test the thermostat, and ensure that the pressure is within the normal range to troubleshoot this issue effectively.
You may need to replace a faulty relief valve or adjust the temperature settings on your water heater to prevent the continuous release of hot water through the overflow pipe. Consulting a professional plumber is crucial if you are unsure about how to address this problem properly.
Water heater leaking
If you notice your water heater leaking, it’s crucial to address the issue promptly to prevent further damage. Start by turning off the power or gas supply to the water heater and shutting off the water supply.
Next, locate the source of the leak and inspect the temperature and pressure relief valve for any signs of dripping or excessive moisture. If it seems like a valve is causing the leak, carefully release some water from it to see if that resolves the issue.
Don’t forget to check for loose pipe fittings or corrosion on your unit, as these could also be potential causes of leaks.
Safety switch/breaker tripping
If your hot water service safety switch or breaker is tripping frequently, it could be a sign of an electrical fault or overload in the system. When this occurs, it’s crucial to address the issue promptly as it can lead to further damage and potential safety hazards.
In some cases, a faulty heating element may be causing the excessive power draw, leading to the tripping of the safety switch or breaker. Additionally, wiring issues within the hot water system could also result in frequent trips of the safety switch or breaker.
It’s essential to seek professional help if you are unsure about handling electrical components.
Hot Water System Troubleshooting Guide
To ensure you troubleshoot your hot water system correctly, it’s important to know if you have a gas or electric water heater. Once you’ve identified your type of heater, follow our troubleshooting tips for common issues and remember to check the warranty before calling a professional plumber if necessary.
How to tell if you have a gas or electric water heater
Determining whether you have a gas or electric water heater is simple. For gas heaters, look for a flue pipe at the top of the unit and a gas supply line nearby. Electric water heaters, on the other hand, won’t have these features but will instead be connected to an electrical outlet or circuit breaker panel.
Gas water heaters also have a pilot light that ignites the burner when hot water is needed. If you’re unsure about your system, check your utility bills – they often specify what type of energy source your hot water heater uses.
Troubleshooting tips for gas and electric water heaters
To troubleshoot gas and electric water heaters, you can follow these tips:
- Check the thermostat settings to ensure they are set correctly for your hot water needs.
- Inspect the pilot light on gas water heaters to ensure it is lit and functioning properly.
- Test the electrical connections and fuses for electric water heaters to rule out any electrical issues.
- Evaluate the pressure relief valve to make sure it is not releasing water excessively, which could indicate a problem.
- Examine the heating elements for signs of corrosion or damage that may be affecting their performance.
- Look for leaks in the tank or any visible signs of damage that may be contributing to hot water issues.
- Consider flushing the tank periodically to remove sediment buildup that can affect heating efficiency.
Checking the warranty
If we’ve exhausted all DIY troubleshooting methods and are still unable to resolve the hot water system issue, it might be a good time to check the warranty. It’s important to note that some components of the water heater may still be under warranty, especially if you recently had it installed or repaired.
Assessing what is covered and for how long can help determine whether it’s best to seek professional assistance or try our hand at fixing it ourselves.
Remember, understanding the warranty and its coverage terms can potentially save us from unnecessary expenses in repairing or replacing our hot water system down the track.
Calling a professional plumber for help if necessary
If we’ve exhausted all DIY troubleshooting steps and still haven’t resolved the hot water system issue, it’s time to consider calling a professional plumber. Plumbers have the expertise and tools needed to diagnose and repair complex problems with hot water systems, such as gas or electric water heaters.
With their knowledge of local regulations and safety standards, they can ensure that any repairs or replacements are done correctly in line with Australian hot water service guidelines.
Don’t hesitate to seek professional help when facing persistent issues such as no hot water, leaks, or unusual odours from your hot water system. Professional plumbers can also provide valuable advice on whether it’s time for a replacement or if there are simple fixes that will extend the life of your water heater.
Troubleshoot Your Hot Water System Now
In conclusion, troubleshooting hot water service issues can be manageable with the right guidance. Identifying common problems and understanding your water heater is crucial for effective DIY repairs.
Whether it’s a gas or electric system, knowing the signs to repair or replace a water heater is essential. With modern DIY techniques and tools, homeowners can confidently tackle hot water system problems independently.
Contact us today and remember to prioritise safety and consider professional help when needed to ensure a well-functioning hot water service.