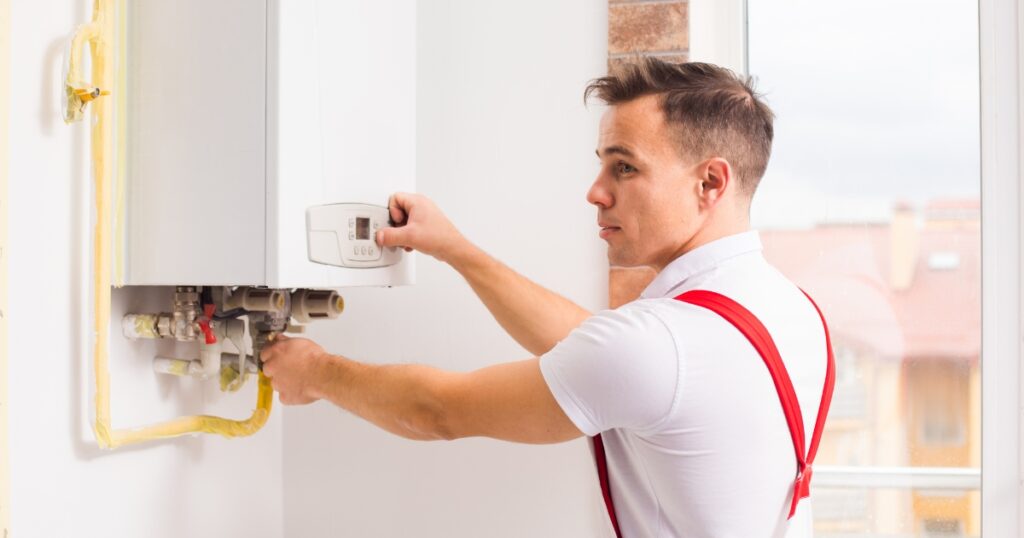
Hot water heater repairs are a true-blue necessity, but crikey, when the pilot light kicks the bucket it can put you squarely in a freezing cold shower. As fellow homeowners, we’ve copped that icy flow ourselves and realise that rust can wreak havoc on the thermocouple’s tip causing drama with the pilot flame.
We’ve done a fair dinkum deep dive into hot water heater hassles and cooked up straightforward, step-by-step solutions for all sorts of pesky pilot light problems that torment gas heaters.
Key Takeaways
- Pilot light issues on hot water heaters can be caused by various factors such as gas supply problems, rust in the thermocouple, and clogged pipes.
- Troubleshooting pilot light problems involves checking the gas supply, cleaning the pilot orifice, and replacing the thermocouple if necessary.
- To relight a pilot light, turn off the gas supply, use a long match or lighter to ignite it, hold down the reset button for one minute, and test for proper operation.

Common Pilot Light Issues
The pilot light on a hot water heater can experience two common issues: it won’t light or it won’t stay lit.
The pilot light won’t light
Experiencing a pilot light that won’t ignite is both common and frustrating. This problem often occurs due to issues with the gas supply, such as blockages in the tube feeding gas to the pilot or inadequate pressure.
Rust interfering with your hot water unit’s thermocouple can also prevent it from lighting by disrupting its ability to detect the pilot flame, leading to the automatic shut-off of gas.
Partially clogged pipes supplying insufficient gas may be another culprit behind an unignitable pilot light.
The pilot light won’t stay lit
When the pilot light on your hot water heater won’t stay lit, it can be frustrating and leave you without hot water. There are a few possible reasons for this issue. One common cause is a faulty thermocouple, which is responsible for sensing the presence of the pilot flame and allowing gas to flow to the burner.
If the thermocouple is damaged or worn out, it may not properly register the flame, causing it to shut off the gas supply. Another potential culprit could be a dirty or clogged pilot tube, which restricts the flow of gas and can lead to the pilot light going out.
In some cases, inadequate gas pressure or a malfunctioning flue venting system could also contribute to this problem. To resolve these issues and keep your pilot light burning consistently, you may need to clean or replace certain components of your hot water heater.
Troubleshooting Pilot Light Issues
To troubleshoot pilot light issues, start by checking the gas supply and ensuring it is turned on. Next, clean the pilot orifice to remove any debris that may be blocking the flow of gas.
If the pilot light still won’t stay lit, it may be necessary to replace the thermocouple, which is responsible for detecting whether the pilot flame is lit or not.
Checking for gas supply
To troubleshoot pilot light issues on your hot water heater, it’s important to start by checking for a gas supply. Make sure the gas valve is turned on and that there are no interruptions in the gas line.
If you suspect a problem with the gas regulator, consult a professional for assistance. Remember, if there is no gas supply, the pilot light won’t be able to ignite properly. Regularly checking for adequate gas supply can help ensure your hot water heater functions correctly and keeps your home supplied with warm water when needed.
Cleaning the pilot orifice
To keep your hot water heater running smoothly, it’s important to clean the pilot orifice regularly. Over time, dirt and debris can accumulate in the orifice, causing blockages that prevent the pilot light from igniting properly.
To clean the pilot orifice, start by turning off the gas supply and letting the water heater cool down completely. Then, use a small brush or a can of compressed air to gently remove any debris from the orifice.
Be careful not to damage any delicate parts while cleaning. Once you’re done, turn on the gas supply and relight the pilot light following the manufacturer’s instructions. Regularly cleaning the pilot orifice will help ensure that your hot water heater continues to function efficiently and reliably.
Replacing the thermocouple
To replace the thermocouple on your hot water heater, you will need a 4-in-1 screwdriver and a new thermocouple. Start by turning off the gas supply to the water heater. Then, remove the access panel to expose the pilot assembly.
Use the screwdriver to unscrew the bracket holding the old thermocouple in place. Disconnect it from both ends and remove it from the pilot assembly. Take your new thermocouple and connect one end to the pilot assembly and the other end to the gas control valve.
Make sure it is securely fastened into place with no leaks. Once everything is connected, turn on the gas supply, light your pilot light using long matches, and test for proper operation.
Steps to Relight the Pilot Light
To relight the pilot light on your hot water heater, start by turning off the gas supply to the appliance. Next, locate the pilot light assembly and use a long lighter or match to ignite it.
Once lit, hold down the reset button for about one minute to allow the thermocouple to heat up and stabilise. Finally, release the button and test for proper operation by checking if the pilot light stays lit.

Turning off the gas supply
To ensure safety while working on your hot water heater, it is important to turn off the gas supply. This can be done by locating the shut-off valve near the heater and turning it to the “off” position.
By doing this, you can prevent any potential gas leaks or accidents while troubleshooting or repairing your pilot light issues. Remember, always prioritise safety when dealing with gas appliances in your home.
Lighting the pilot light
To light the pilot light on your hot water heater, follow these simple steps. First, locate the gas control valve on your unit and turn it to the “off” position. Next, remove the access panel to reveal the pilot assembly.
Using a long match or lighter, carefully ignite the pilot by holding it near the thermocouple and pressing down on the reset button. Once lit, hold down the reset button for about one minute to allow the thermocouple to heat up and signal that it’s safe to release.
Finally, turn on the gas control valve and test for proper operation by checking if your burner ignites when you open a hot water faucet.
Testing for proper operation
To ensure that your hot water heater is functioning properly after relighting the pilot light, it’s important to test for proper operation. One way to do this is by checking if the burner ignites and heats up the water.
You can simply turn on a faucet and let it run for a few minutes to see if you’re getting hot water. If the water remains cold or doesn’t get as hot as usual, there may be an issue with your hot water heater that requires further inspection or professional repair.
Keep in mind that testing for proper operation should be done after relighting the pilot light to ensure everything is working correctly.
Remember, safety always comes first when dealing with gas appliances. If you’re unsure about any step in troubleshooting or repairing your hot water heater, it’s best to seek professional assistance.

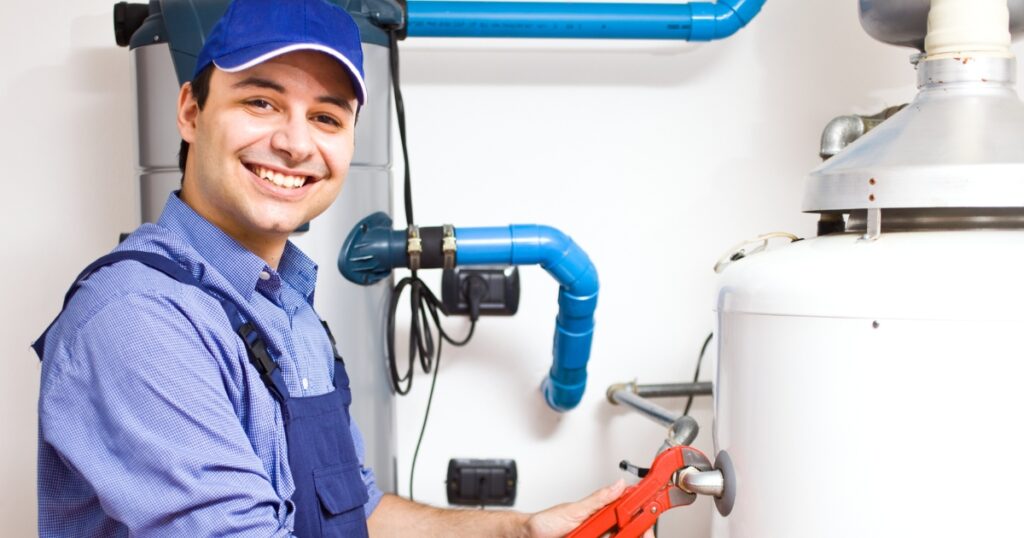
When to Seek Professional Hot Water Heater Repair
If you’re dealing with complex issues, gas leaks, or inadequate hot water supply, it’s best to leave the hot water heater repair to the professionals. Read on to learn more about when it’s time to call in the experts and ensure your hot water stays flowing.
Gas leaks
Gas leaks are a serious issue when it comes to hot water heaters. If you notice the smell of gas near your heater or hear a hissing sound, there might be a gas leak. Gas leaks can be dangerous and should never be ignored.
It is important to take immediate action by turning off the gas supply, ventilating the area, and contacting a professional for repairs. Gas leaks can not only affect the performance of your hot water heater but also pose a risk to your safety and health.
Inadequate hot water supply
If you’re experiencing inadequate hot water supply, there could be a few potential causes. One possibility is sediment buildup in the tank, which can reduce the amount of available hot water.
Flushing the tank regularly can help prevent this issue. Another factor to consider is the size of your hot water heater. If it’s too small for your household’s needs, it may struggle to provide enough hot water for showers and daily activities.
Additionally, a faulty thermostat or heating element could also contribute to insufficient hot water supply. It’s important to have these components checked and replaced if necessary by a professional plumber to ensure the proper functioning of your hot water system.
Preventive Maintenance Tips
To prevent pilot light issues and ensure your hot water heater functions efficiently, follow these preventive maintenance tips:
– Clean and inspect the hot water heater regularly.
– Flush the tank to remove sediment buildup.
– Check for gas leaks around the unit.
– Replace the anode rod when necessary.
Flushing the tank
Flushing the tank is an important step in maintaining your hot water heater and ensuring its longevity. Over time, sediment can build up at the bottom of the tank, which can affect the efficiency and performance of your water heater.
Flushing the tank involves draining out this sediment to keep your system running smoothly. By doing this regularly, you can prevent clogs, improve water flow, and extend the lifespan of your hot water heater.
It’s a simple maintenance task that can have a big impact on your overall satisfaction with your hot water service.
Checking for gas leaks
To ensure the safety of your hot water heater and your home, it’s important to regularly check for gas leaks. Start by using a mixture of dish soap and water to create a soapy solution.
Then, carefully apply this solution to all the connections and fittings on your hot water heater. Watch closely for any bubbles or frothing – this indicates a gas leak. If you do detect a leak, turn off the gas supply immediately and contact a professional plumber to address the issue.
Remember, gas leaks can be extremely dangerous, so it’s crucial to take immediate action if one is detected.
Replacing the anode rod
To keep your hot water heater in good working condition, it’s essential to replace the anode rod regularly. The anode rod is a metal rod that helps prevent corrosion inside the tank by attracting and neutralising corrosive elements.
Over time, the anode rod can become depleted and less effective, which can lead to rust and other issues with your water heater. By replacing the anode rod as part of your preventive maintenance routine, you can extend the lifespan of your hot water heater and ensure reliable performance for years to come.
Your Space Deserves Hot Water, Today!
Experiencing pilot light issues with your hot water heater? Hot Water Repairs Today is your solution for swift and reliable repairs. Don’t let a flickering or out-of-service pilot light disrupt your comfort – take action now. Contact us for expert assistance in diagnosing and repairing pilot light issues with your hot water heater. Trust Hot Water Repairs Today to be your go-to partner in restoring your hot water system to optimal functionality. Don’t wait for cold showers to become a routine – reach out now and address pilot light issues with confidence. Act today for a consistently warm and reliable hot water supply. Contact us now!